
Forwarding data to a database
Write live tag values directly into a relational database — Microsoft SQL Server and other supported engines — on a timer or event trigger.
On this page
The Database gateway type writes tag values directly into a relational database table on a configurable interval. Use this to feed an existing enterprise system — an ERP, a historian, a custom reporting database, or a data warehouse — without building a separate integration layer.
Supported databases
MySQL — Microsoft SQL — Oracle — PostgreSQL — MongoDB — MariaDB
Prerequisites
- A relational database server accessible from the DataTalk gateway network
- A database and table prepared to receive tag data
- A database user with
INSERT(and optionallyUPDATE) permissions on that table - At least one Connection configured with tags reading correctly
Configuration
In the project tree, expand Data Interface → Gateway and double-click Gateway.
Select Database from the Type dropdown.
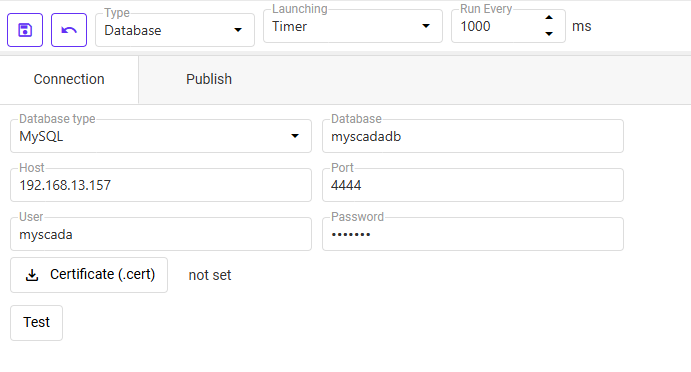
Choose your Database type — for example Microsoft SQL. The default port updates automatically.
Fill in the Connection tab:
- Database — name of the target database (e.g.,
PlantData) - Host — IP address or hostname of the database server
- Port — leave at the default for your engine (SQL Server:
1433) or enter a custom port - User / Password — database credentials with write access to the target table
Click the Test button to verify that the gateway can reach the server and authenticate. A success message confirms the connection is valid before you save.
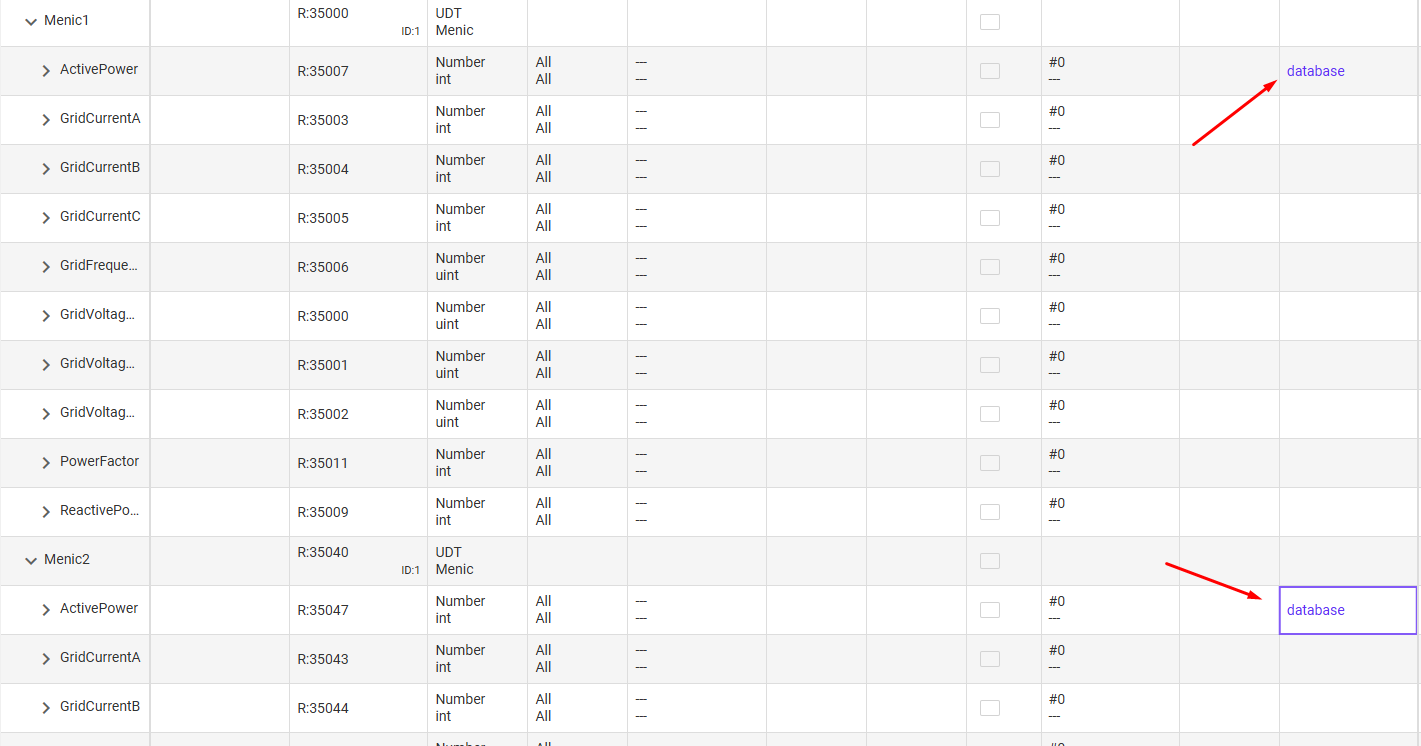
Navigate to the Tag Database and select the tags you want to publish to the database.
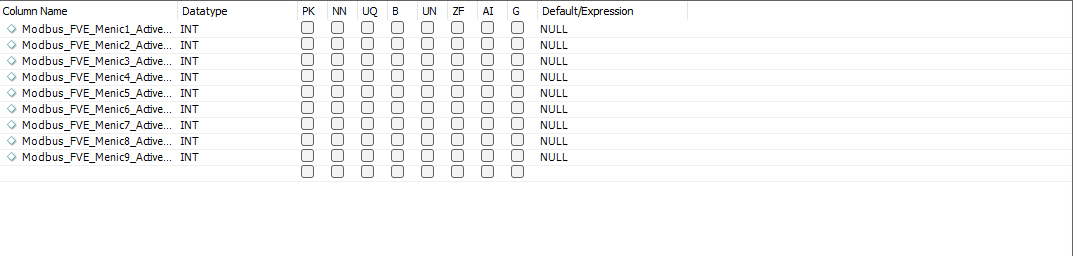
Return to the gateway settings and open the Publish tab. Click Create table — DataTalk automatically creates a table in your database with pre-defined columns matching the selected tags. No manual schema creation is required.
Still in the Publish tab, choose your write strategy:
Create SQL Update — generates an UPDATE query to overwrite an existing row on each run.
Create SQL Insert — generates an INSERT query to append a new row on each run according to the Run Every interval.
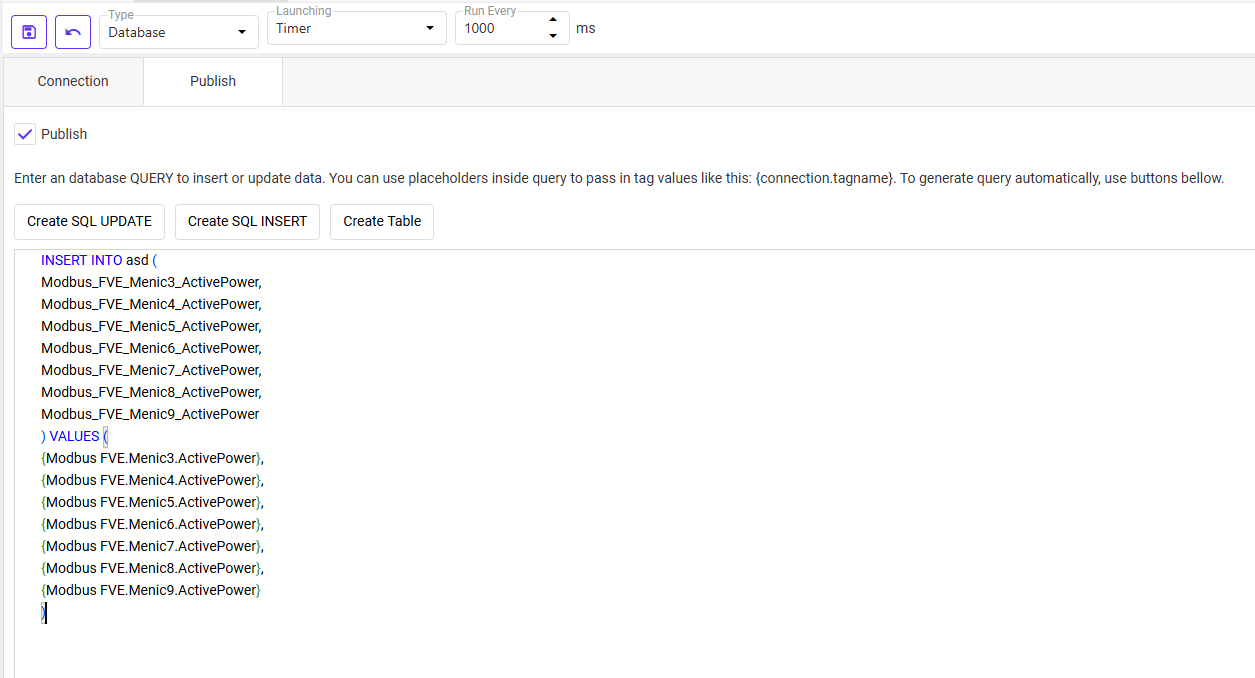
Set Launching to Timer and Run Every to your desired write interval in milliseconds. For one write per second use 1000; for one per minute use 60000.
Alternatively, set Launching to Trigger and select a tag — the gateway writes to the database only when that tag’s value changes. Useful for event-driven logging rather than continuous sampling.
Click Save. The gateway begins writing tag values to the database on the configured schedule.
Verifying data is being written
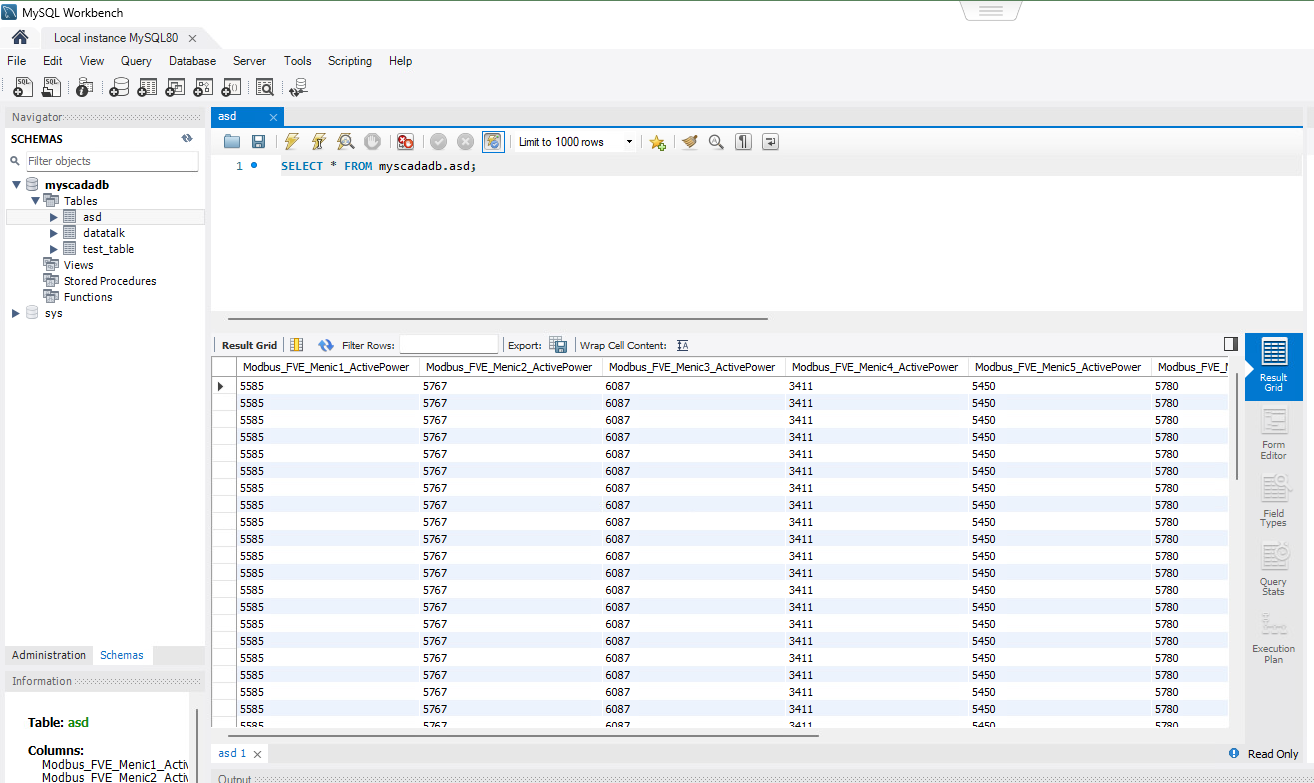
Connect to your database with any SQL client and query the target table:
SELECT TOP 10 * FROM tag_values ORDER BY timestamp DESC;Rows should appear at the configured interval. Confirm that tag names and values match what you see in the DataTalk Tag Database → Read Values tab.
If you only want to write a record when something actually changes — a machine state, an alarm flag, a batch number — set Launching to Trigger and select the tag that signals the event. The database stays clean with only meaningful records rather than a row every second regardless of whether anything changed.
DataTalk writes to the table structure you define in the Publish tab. Create the table in your database before saving the gateway configuration, or the first write attempt will fail. At minimum, include a timestamp column and one column per tag you want to record.