
Backup
Create, download, upload, and restore project snapshots. Choose which components to include — project configuration, user accounts, and historical data.
On this page
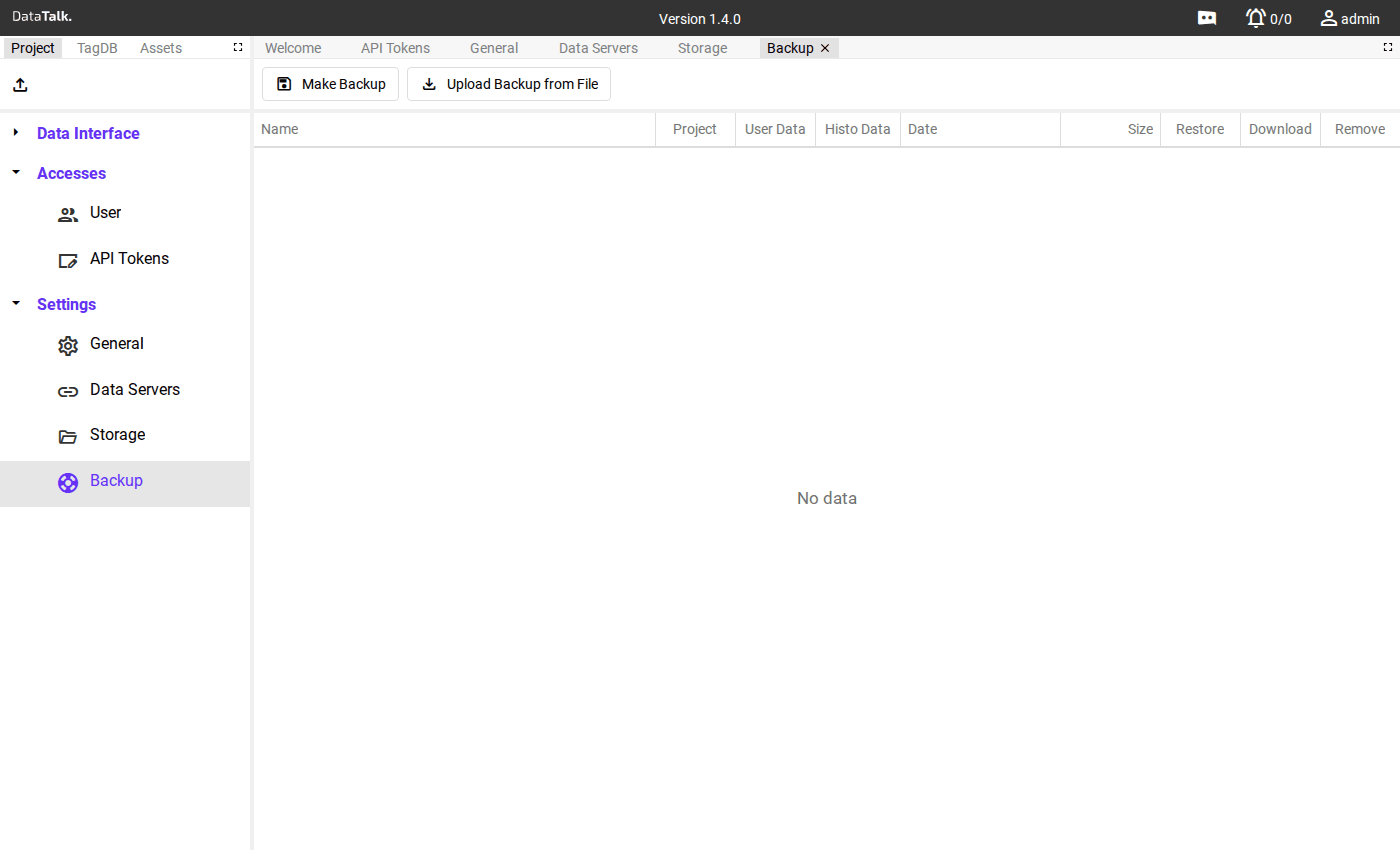
The Backup page protects your project against hardware failure, accidental deletion, and configuration mistakes. It lists all backups currently stored on the device and provides tools to create new ones and restore from file.
What a backup contains
When creating a backup you choose which components to include:
- Project — all connections, tag definitions, UDTs, ranges, categories, equations, HMI views, and project settings
- User Data — user accounts, groups, API tokens, and access permissions
- Historical Data (Histo Data) — all records from the datalogs and event logs; can make the backup file significantly larger for projects with long retention or high-frequency sampling
For routine backups, always include Project and User Data. Include Historical Data only when you need a full archive — for example before a major system change or hardware migration.
For production systems, create a backup after every significant configuration change — new connections, tag changes, HMI edits — and at minimum weekly. Always download the file off the device. A backup stored only on the gateway is lost if the device fails.
Creating a backup
The Make Backup button is at the top of the Backup page (Settings → Backup). Clicking it opens a dialog to select which components to include. Check the components you need and confirm.
The gateway assembles the backup file. Large historical datasets may take a few minutes.
The completed backup appears in the list. Click Download to save it to your computer or a network share. Always store at least one copy off the device — a backup stored only on the device is lost if the device fails.
Restoring a backup
All current configuration, users, and data (depending on what was included in the backup) are replaced. Any changes made after the backup was taken are permanently lost. If you are unsure, create a fresh backup of the current state before restoring an older one.
Two restore paths are available depending on whether the backup file is already on the device or needs to be uploaded from your computer:
If the backup is already on the device, click its Restore button in the backup list and confirm the dialog. The gateway applies the backup and restarts the project services.
Use this when the backup file is on your computer — for example after a hardware replacement or when restoring to a new device. Click Upload Backup from File above the list, select the file from your computer, and it appears in the list ready to restore.
Backup list columns
Each row in the backup list shows the following information:
Name — Auto-generated name with a timestamp.
Project / User Data / Histo Data — Checkmarks showing which components are included in this backup.
Date — When the backup was created.
Size — File size on disk.
Restore — Apply this backup to the current project (see warning above).
Download — Download the file to your computer or a network share.
Remove — Delete the backup from the device to free disk space.
Backup creation can be triggered through the gateway’s REST API using an API Token with administrator permissions. Use an external scheduler to create nightly backups automatically and download them to a network share — without logging into the UI.