Users
Manage user accounts with role-based group membership, two-factor authentication, per-user language preference, and configurable startup screens.
On this page
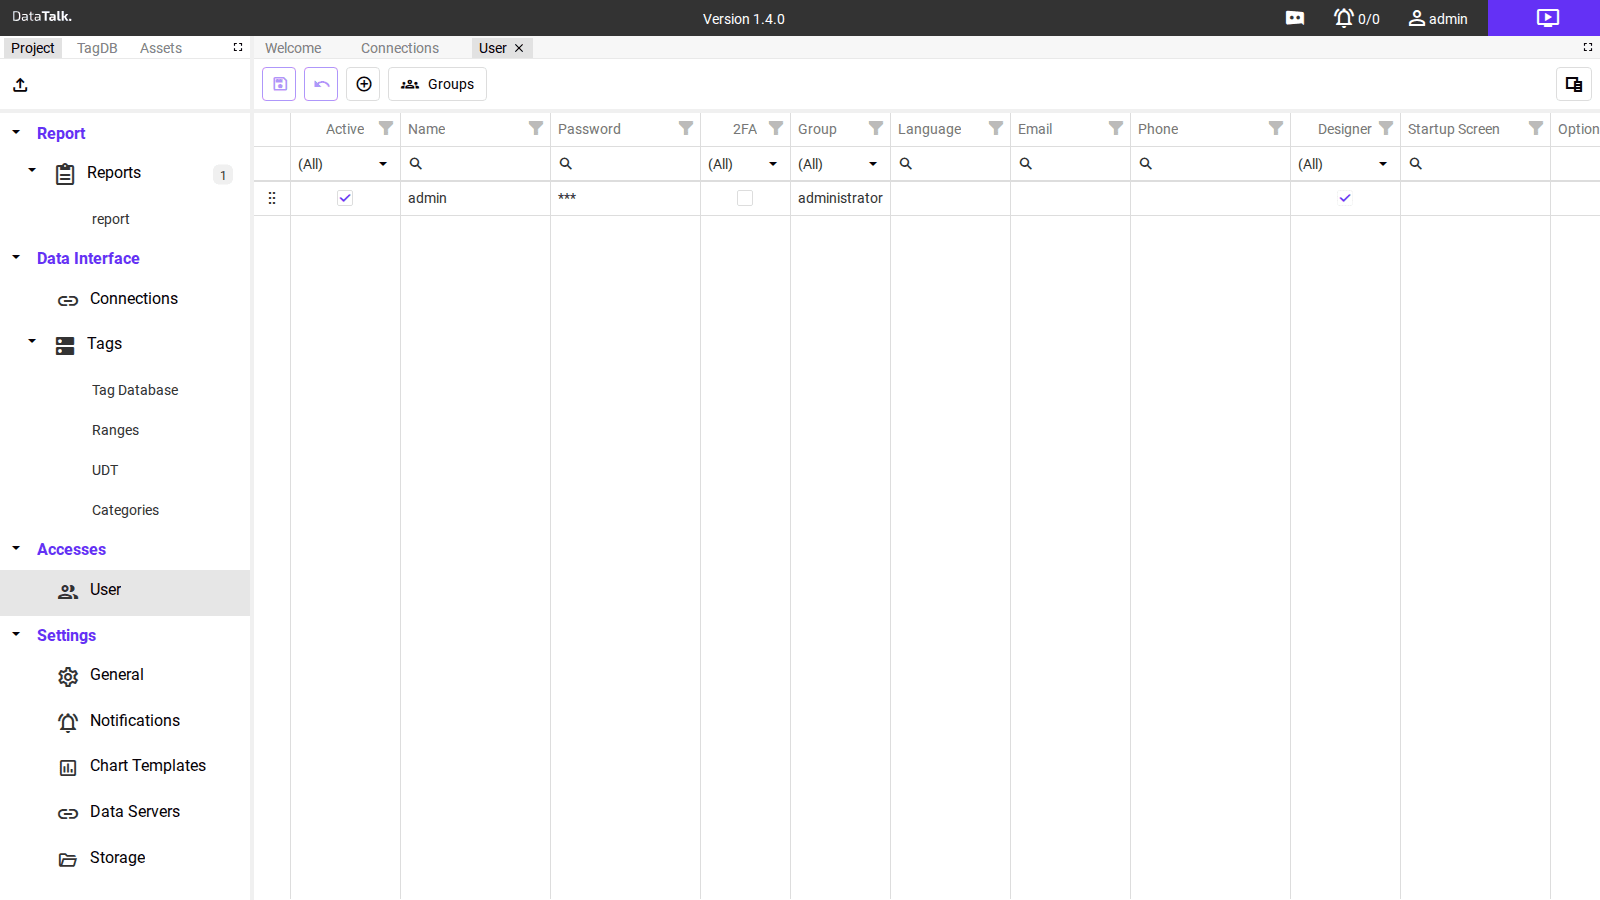
The Users page lets administrators manage who can access the application and what they are allowed to do. It shows a grid of all user accounts and a Groups panel on the right side. Together they define the complete access control model for the project.
User fields
Identity and credentials
Active — Enable or disable the account. Disable a user instead of deleting them when you want to suspend access temporarily or preserve their history — deleted accounts cannot be recovered.
Name — Login username; must be unique within the project.
Password — Stored as a cryptographic hash, never displayed. An administrator can reset it at any time without knowing the current value.
2FA — Two-factor authentication using TOTP (time-based one-time passwords). When enabled, the user must enter a 6-digit code from an authenticator app (Google Authenticator, Authy) on every login in addition to their password. Enable for any account with write access or administrator privileges.
Role and access
Group — The permission group this user belongs to. This is the most important field on the account — it controls which pages, report templates, tag categories, and write operations are accessible. If a user can see or do something they shouldn’t, this is where to look first.
Designer — Grants access to the report designer. Enable only for engineering staff who need to build or edit report templates; operators do not need this.
Experience and notifications
Language — Interface language for this individual user, overriding the project default. Set this per user so each person sees labels and menus in their preferred language without affecting anyone else.
Email — Used for alarm notification emails and for direct report delivery to this user.
Phone — Phone number for SMS-based alarm notifications.
Startup Screen — The view that opens automatically when this user logs in. Set this for operators so they land directly on the relevant report or overview after login.
Groups
Groups define permission sets that control what users can see and do. A group controls:
- Which sections of the application are visible
- Which report templates are accessible
- Whether users can write to tags (operator control) or only read values
- Which tag categories can be accessed
Create groups that match the roles in your organization — for example Administrator, Supervisor, Operator, ReadOnly. Assign users to the appropriate group when creating their account.
Adding a user
Opens the user creation form.
Enter a username and initial password. Assign the user to a Group — this determines everything the user can access.
Add an email address for alarm notifications and report delivery. Enable 2FA for accounts requiring stronger security — particularly for any account with administrator privileges.
The user can log in immediately after saving.
A built-in admin account is created during installation and cannot be deleted. Change its default password during initial setup and enable 2FA before connecting the application to any network.
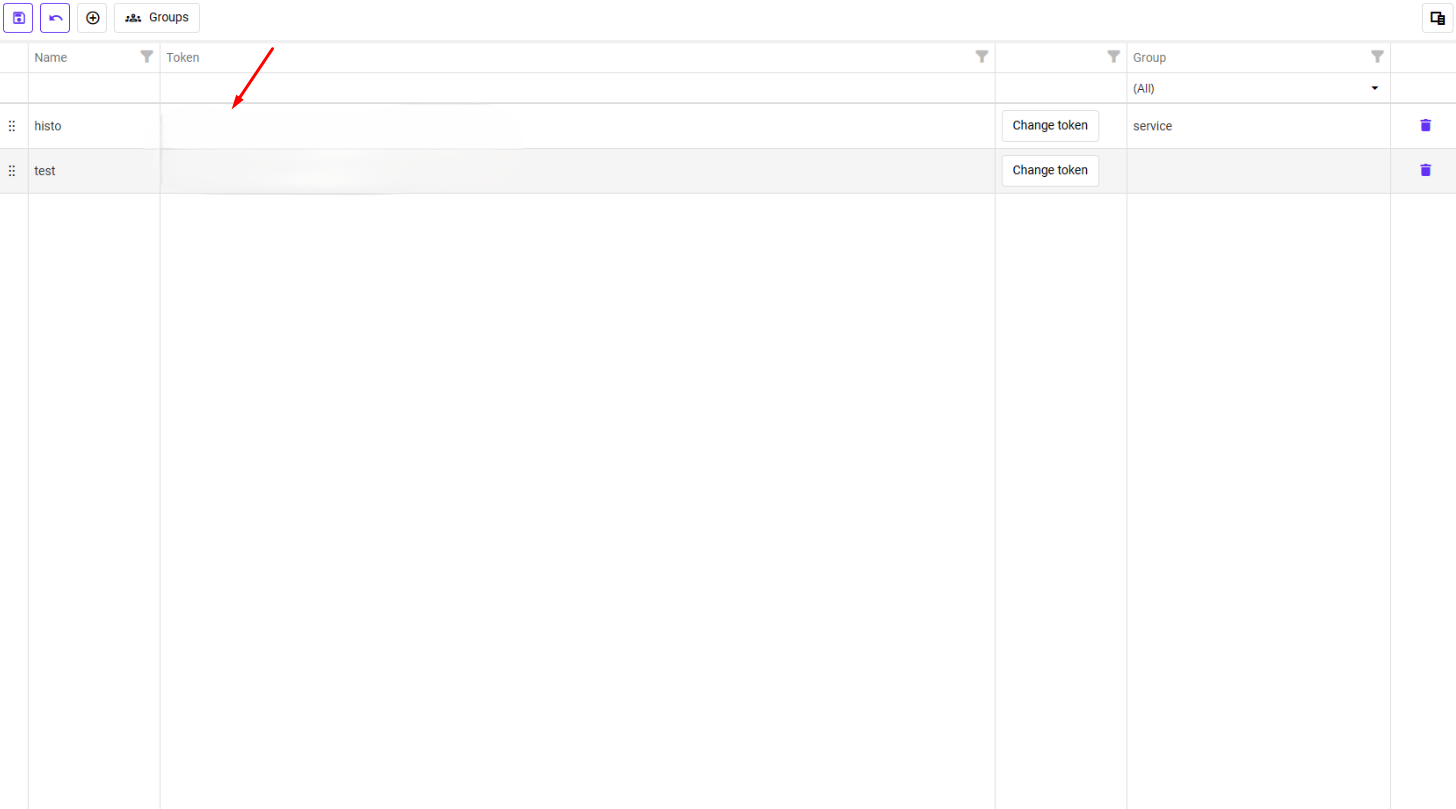
API Tokens
The application includes an integrated API server that allows external systems to read data and trigger actions without accessing the HMI directly. API tokens authenticate these requests.
To explore the available endpoints, open the built-in Swagger UI in a browser while the runtime is running:
http://localhost/apiv1/api-documentation/Or, from a remote machine:
http://{IP_ADDRESS}/apiv1/api-documentation/The Swagger UI lists all available endpoints and lets you test them interactively.
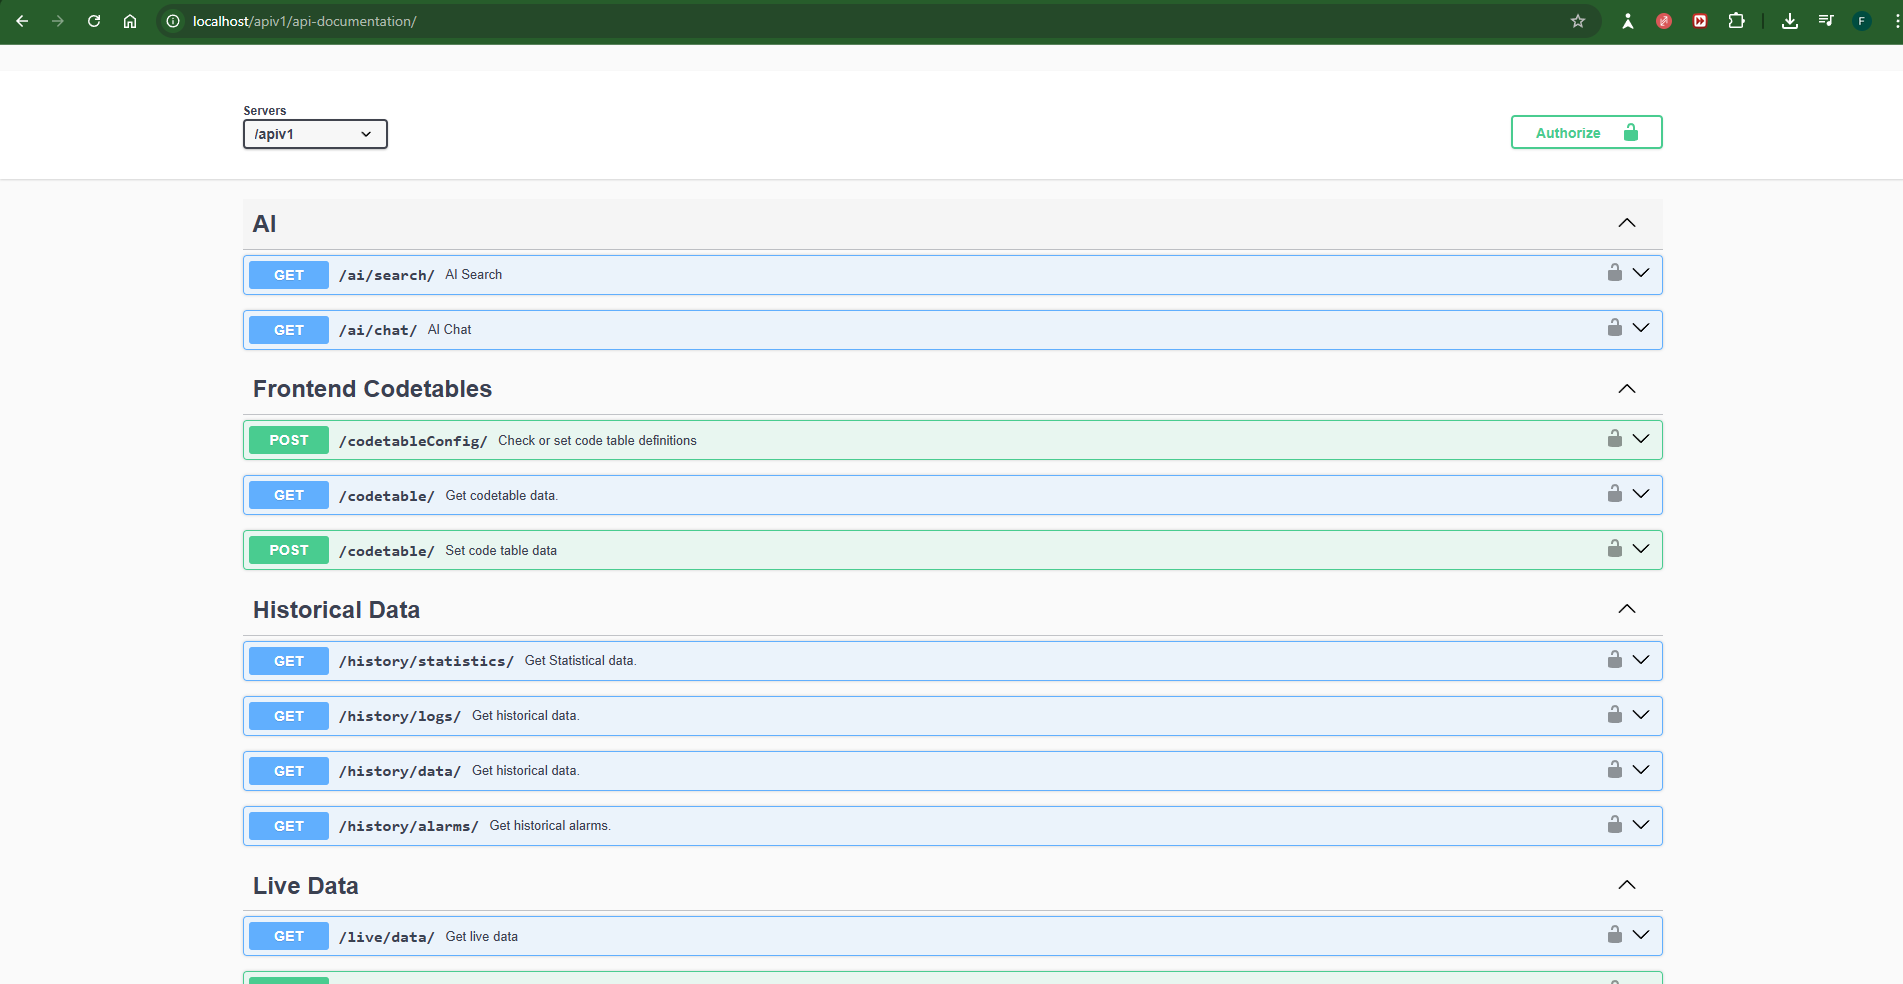
When testing endpoints through Swagger UI, provide your API token in the Authorization section before executing any request.