
Quick Start
Create your first view in six steps — add a view, draw an element, animate it from a tag, add a button, and run it in view mode.
On this page
This guide takes you from an empty project to a working operator screen. It assumes DataTalk Manager v1.4.0 or later with the Web HMI module licensed, and at least one tag in the Tag Database. If you have no device yet, use the Global memory tags — they exist in every project.
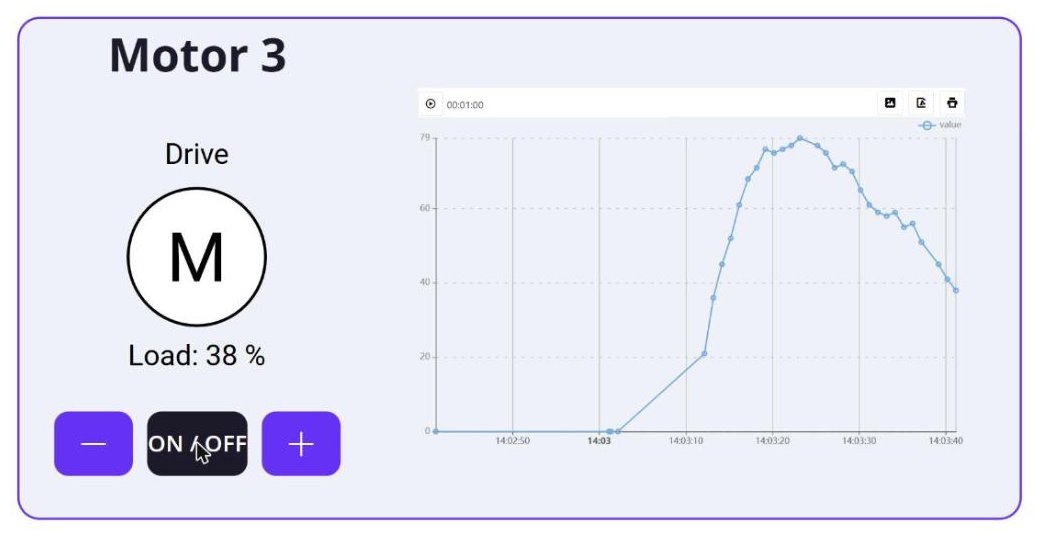
Open the application in your browser and click the purple button in the top-right corner to switch to edit mode. The Project tree appears on the left.
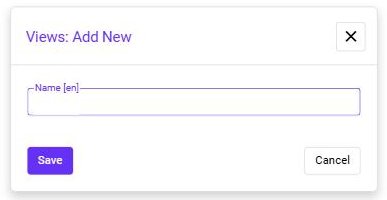
Click Views in the tree, click +, enter a name and click Save. Double-click the new view to open the editor.
Select the Ellipse tool and draw a circle on the canvas. This will be an indicator light. Set its CX / CY / RX / RY in the properties panel if you want to position it exactly. See View Editor.
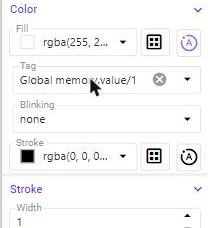
In the Color section click the A button next to Fill. Open the TagDB tab, expand the connection and drag a tag onto the Tag field. The color of the circle now follows the tag. See Animations.
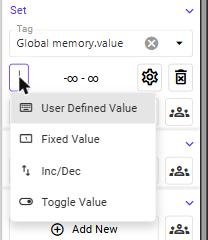
Draw a rectangle for the button. In its Set section click Add New, drag a tag into the Tag field and choose how the value is set — for example Inc/Dec. See Set Commands.
Click Save, then click the purple button again to leave edit mode. Open the view from the navigation menu (≡ → Views). The indicator reacts to the tag, and the button writes to it.
Use the Preview (eye) button in the editor toolbar to see the view running without leaving edit mode.
Next steps
- Make the view reusable for many machines with Parameters.
- Link screens together with Open Commands.
- Follow the full Tutorial — Reusable Motor Faceplate.