
AI Settings
On this page
The AI settings page is found at Edit Mode → Settings → AI. It is divided into six tabs: Config, System Description, Assets, User Tools, MCP Server, and Advanced.
Config tab
The Config tab controls the core AI module settings — whether the assistant is active, which AI provider and model to use, and what capabilities are enabled.
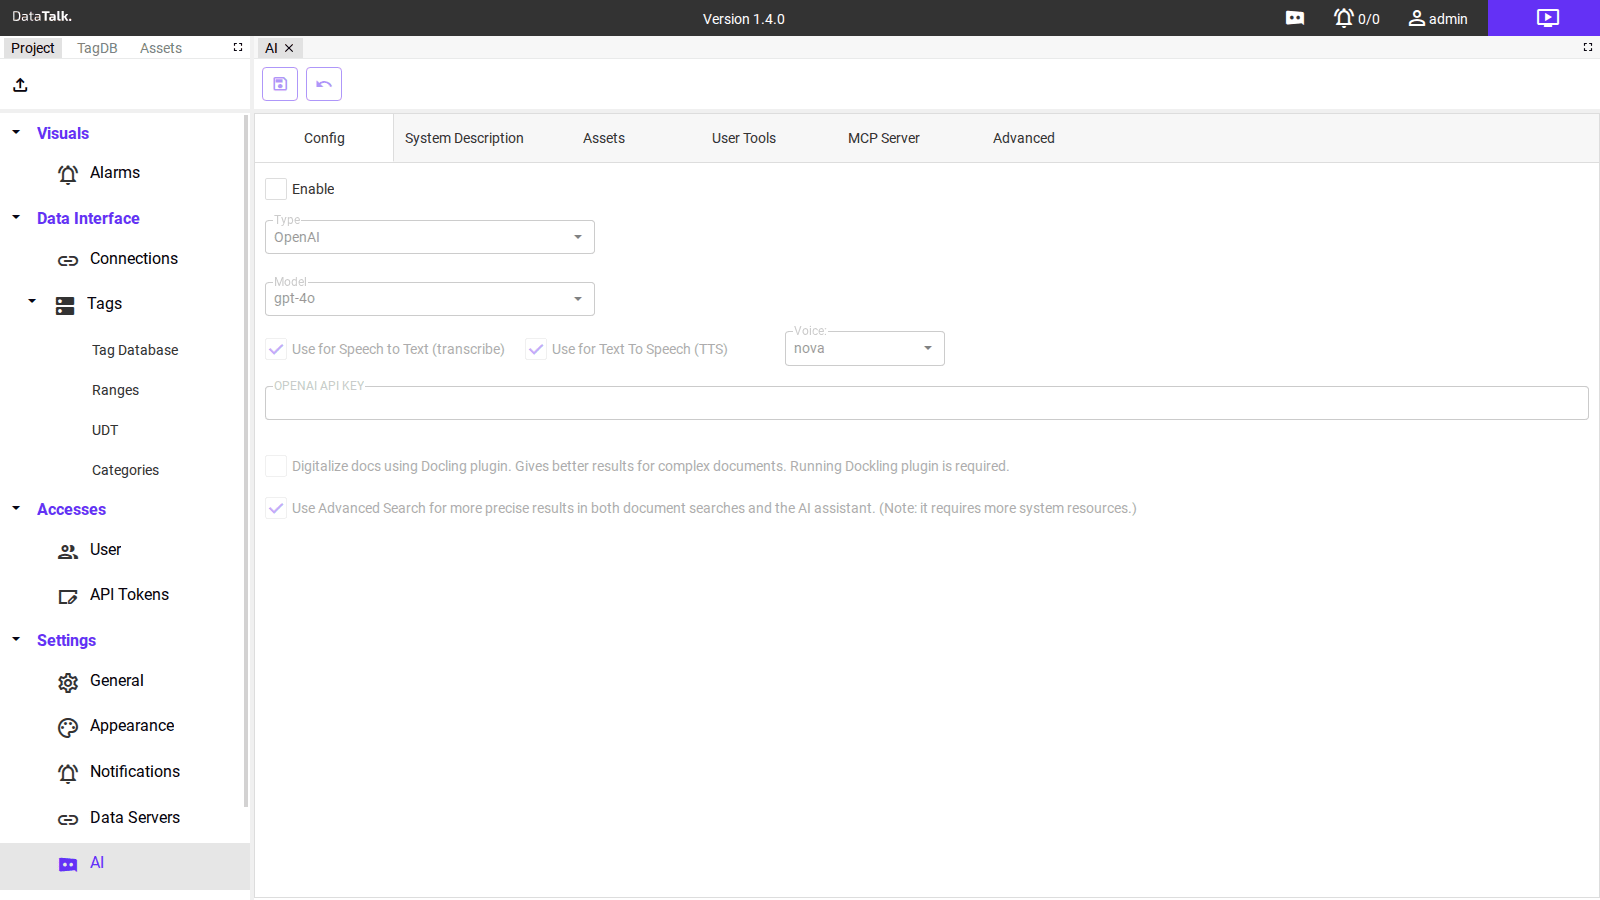
Enable — master toggle to activate the AI assistant. When unchecked, the AI panel in View Mode shows “AI is not enabled. Please check the AI settings.” and no requests are sent to any provider.
Type — the AI provider to use. Two options are available:
- OpenAI — cloud-hosted service; requires an API key and internet access
- Ollama — locally hosted models; no internet required after setup
Model — the specific model to use within the selected provider. For OpenAI, the default is gpt-4o. For Ollama, enter the name of a model already installed on the Ollama server.
Use for Speech to Text (transcribe) — when enabled, a microphone button appears in the AI panel so operators can speak their question instead of typing. The audio is transcribed using the configured AI provider.
Use for Text To Speech (TTS) — when enabled, the AI reads its answers aloud. A Voice dropdown appears below this option to select the voice style. The default voice is nova.
OPENAI API KEY — the API key from your OpenAI account. This field is required when Type is set to OpenAI. Without a valid key, all requests are rejected.
Digitalize docs using Docling plugin — enables enhanced document parsing for complex PDFs such as scanned pages, tables, or multi-column layouts. Disabled by default. Requires the Docling plugin to be installed and running. When enabled, the note reads: “Gives better results for complex documents. Running Dockling plugin is required.”
Use Advanced Search — enables more precise semantic search across uploaded documents and system data. Enabled by default. The note reads: “for more precise results in both document searches and the AI assistant. (Note: it requires more system resources.)”
System Description tab
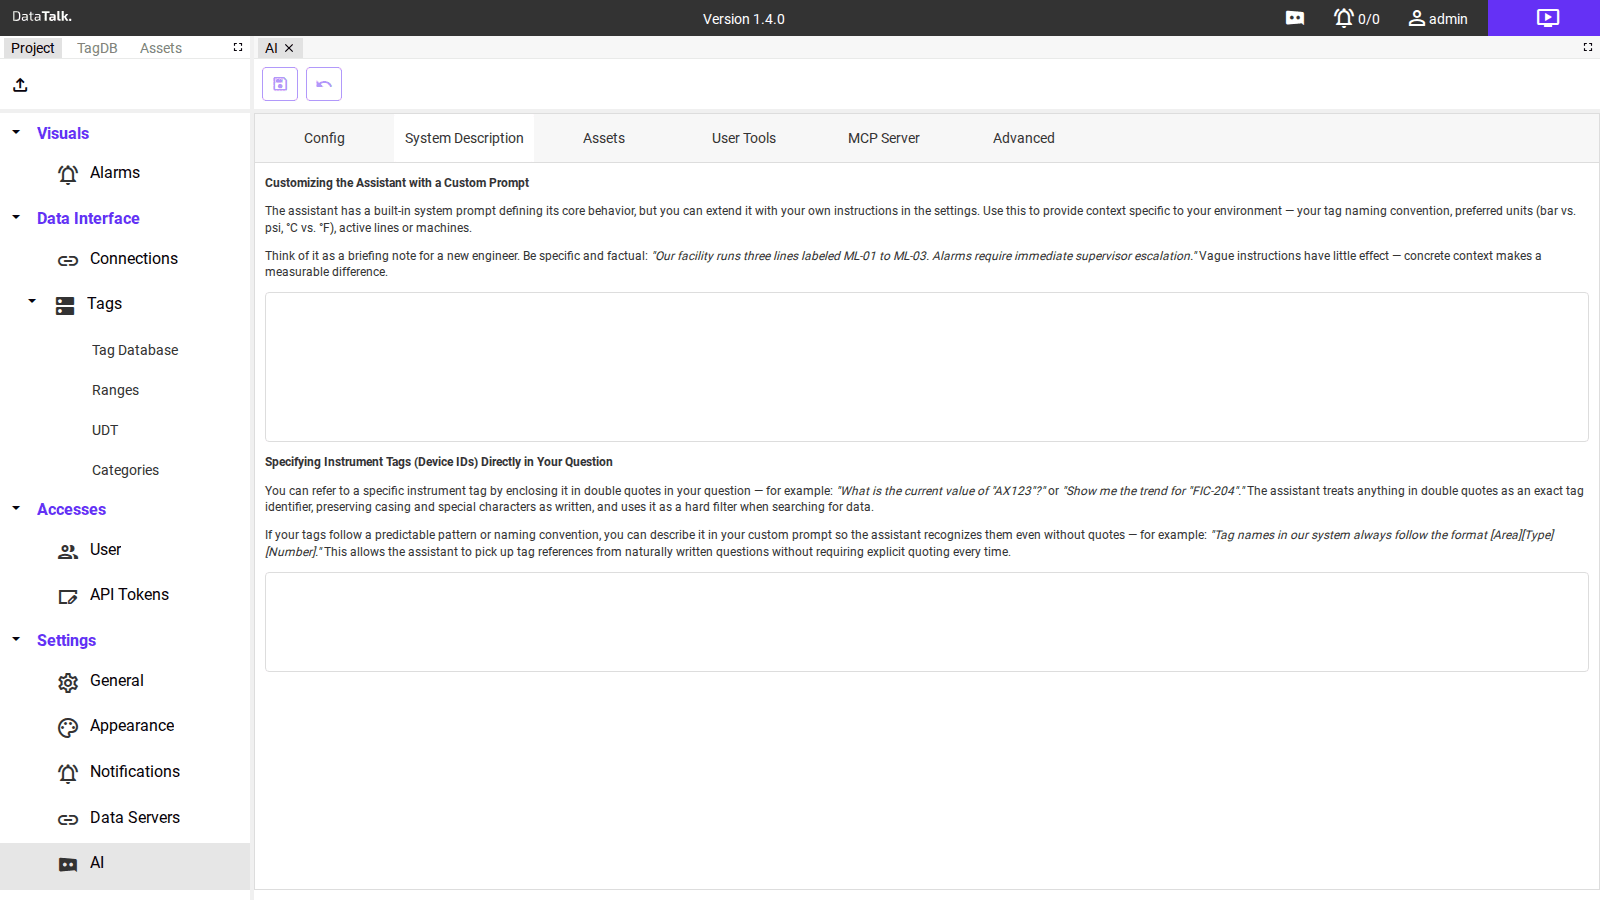
The System Description tab lets you write a custom prompt that extends the AI assistant’s built-in instructions. The tab contains guidance text and a free-text field.
The guidance reads:
The assistant has a built-in system prompt defining its core behavior, but you can extend it with your own instructions in the settings. Use this to provide context specific to your environment — your tag naming convention, preferred units (bar vs. psi, °C vs. °F), active lines or machines. Think of it as a briefing note for a new engineer. Be specific and factual: ‘Our facility runs three lines labeled ML-01 to ML-03. Alarms require immediate supervisor escalation.’ Vague instructions have little effect — concrete context makes a measurable difference.
A second section explains how to reference specific tags:
You can refer to a specific instrument tag by enclosing it in double quotes in your question — for example: ‘What is the current value of “AX123”?’ or ‘Show me the trend for “FIC-204”.’ The assistant treats anything in double quotes as an exact tag identifier. If your tags follow a predictable pattern or naming convention, you can describe it in your custom prompt so the assistant recognizes them even without quotes.
Write your installation-specific context in the text field — what your facility does, what devices are connected, what the key tags represent, and any terminology specific to your operation. Save when done. The description takes effect immediately for all subsequent conversations.
Assets tab
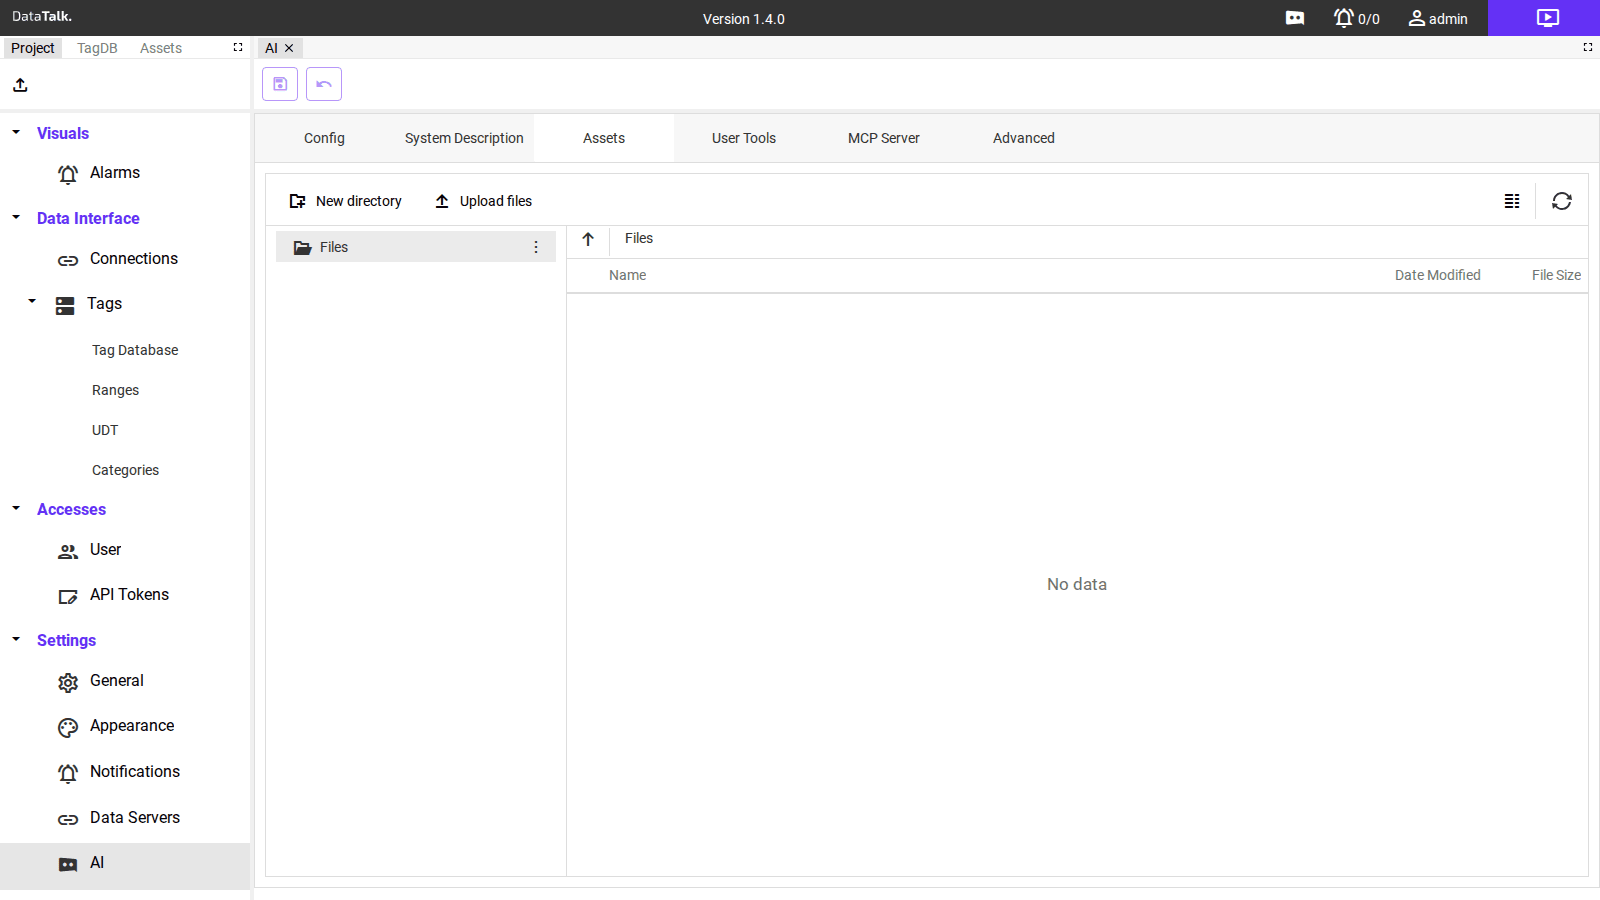
The Assets tab lets you upload documents that the AI can search when answering questions. When a user asks something likely answered by an uploaded document — such as a manual or engineering specification — the AI searches the files and incorporates the relevant content into its answer.
The tab has two controls:
New directory — create a folder to organize uploaded files.
Upload files — select one or more files to upload. The table shows each file’s Name, Date Modified, and File Size.
The AI extracts text from uploaded files. Scanned PDFs without embedded text, or image-only files, will produce poor results. Enable the Digitalize docs using Docling plugin option in the Config tab for better handling of complex document layouts.
User Tools tab
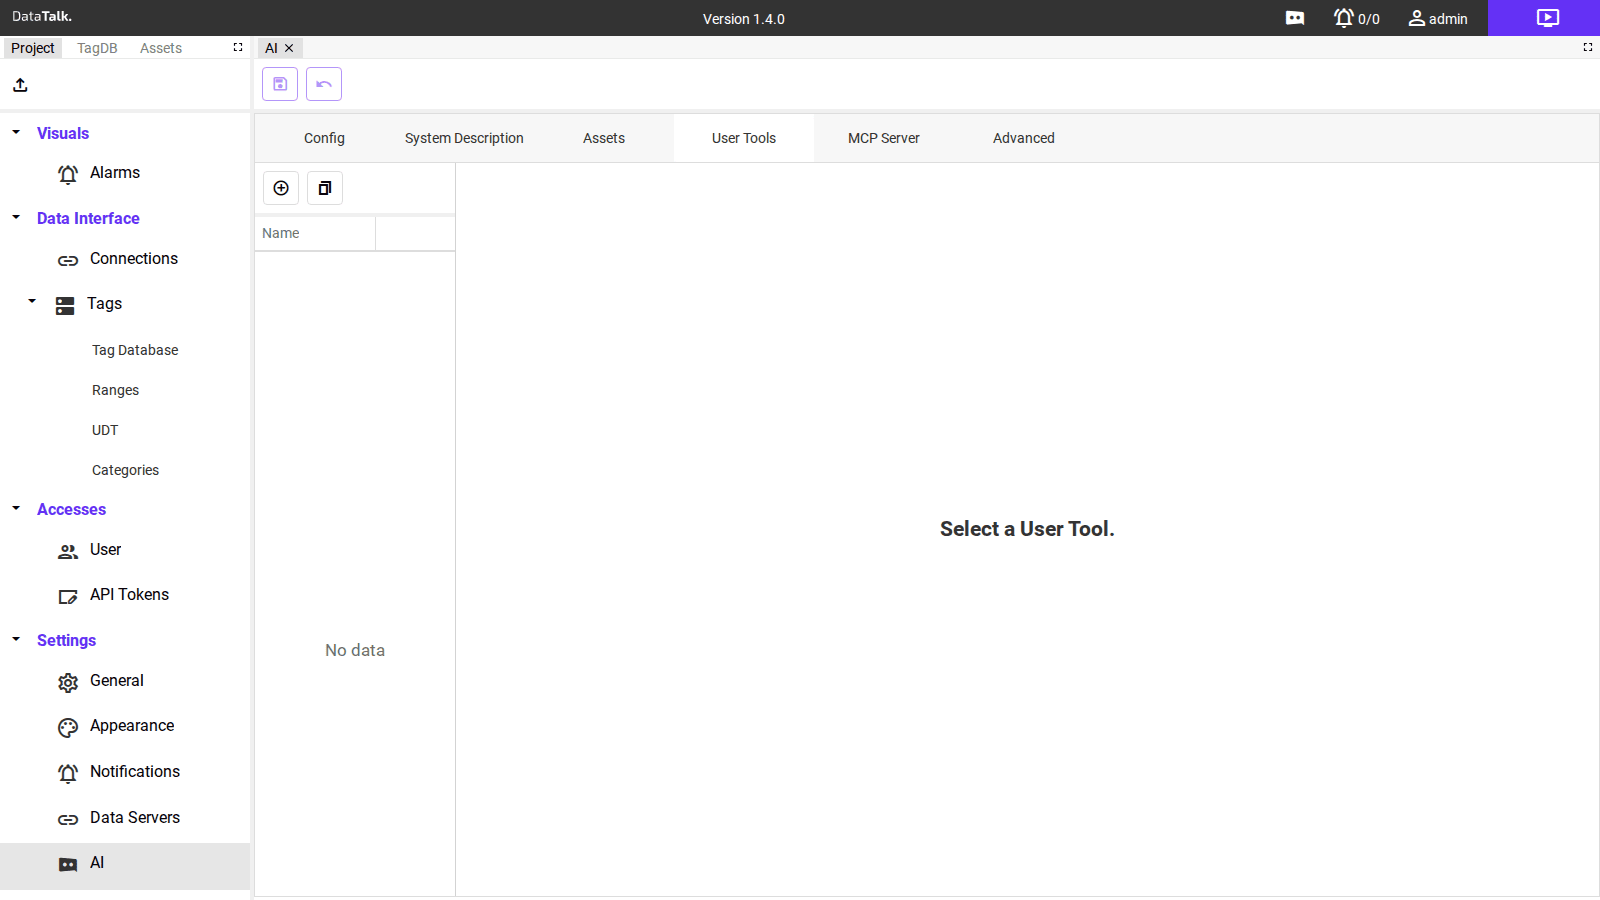
The User Tools tab lists custom tools or functions that the AI assistant is permitted to call. The tab shows a Name column. The list is empty by default.
User Tools allow you to extend what the AI can do beyond answering questions — for example, custom in-application operations triggered by the AI in response to a user instruction. Each tool must be individually added and configured.
MCP Server tab
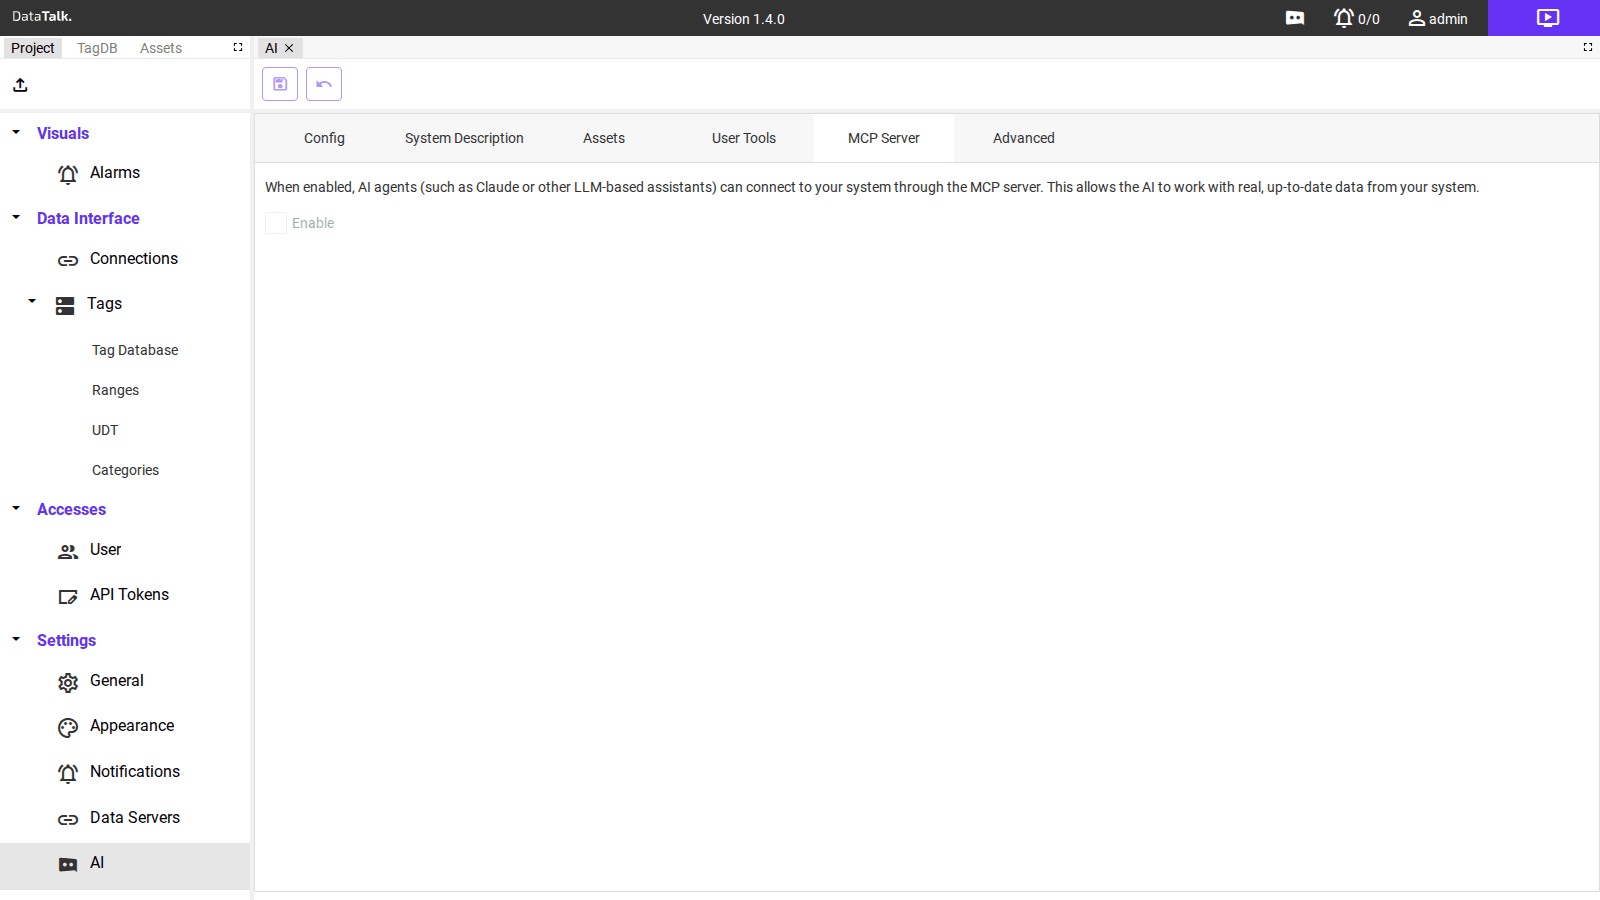
The MCP Server tab controls integration with external AI agents via the Model Context Protocol (MCP).
Enable — toggle to activate the MCP server endpoint.
The tab explains: “When enabled, AI agents (such as Claude or other LLM-based assistants) can connect to your system through the MCP server. This allows the AI to work with real, up-to-date data from your system.”
MCP is a standardized protocol for connecting external AI agents to application data and tools programmatically. This is intended for advanced integrations where the application is one node in a larger multi-agent AI workflow.
Advanced tab
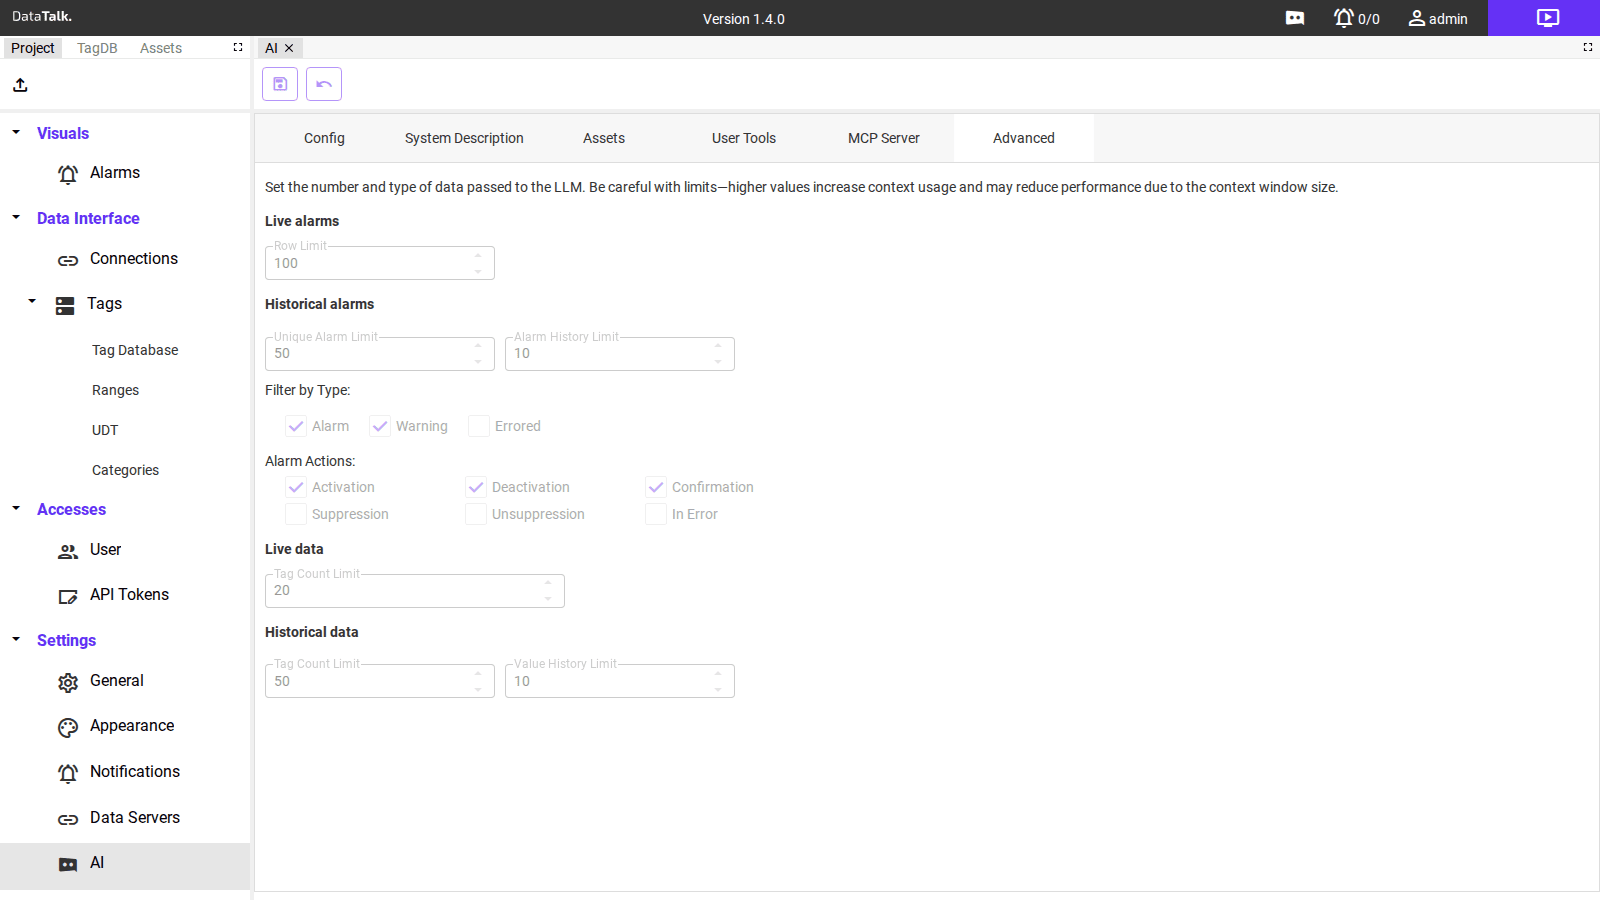
The Advanced tab sets limits on how much data is passed to the AI model in each request. The tab includes a caution note:
Set the number and type of data passed to the LLM. Be careful with limits — higher values increase context usage and may reduce performance due to the context window size.
The configurable limits are:
Live alarms
- Row Limit — maximum number of active alarms included in the AI context
Historical alarms
- Unique Alarm Limit — maximum number of distinct alarms from history
- Alarm History Limit — maximum number of alarm history records
Filter by Type — select which alarm types to include: Alarm, Warning, Errored
Alarm Actions — select which alarm events to include: Activation, Deactivation, Confirmation, Suppression, Unsuppression, In Error
Live data
- Tag Count Limit — maximum number of live tag values passed to the AI
Historical data
- Tag Count Limit — maximum number of tags included from history
- Value History Limit — maximum number of historical values per tag
Raising these limits sends more data to the AI model with each request. This increases the context window used per query, which can slow down responses and increase API costs when using OpenAI. Start with the defaults and adjust only if the AI is missing data it clearly needs.