
Quick Start
On this page
This guide walks through the minimum steps to go from a fresh installation to a working alarm system: connect to a device, read tag values, define alarm limits, and receive notifications.
All configuration steps happen in Edit Mode. Enter it by clicking the pencil icon at the top right of the top bar.
Navigate to Data Interface → Connections.
Click the Add Connection tile, enter a name for the connection, and click Set. The application creates the connection and adds it as a tile on the page.
Double-click the tile to open its configuration. Set the protocol-specific parameters — for example, the PLC IP address for an EtherNet/IP connection.
Navigate to Data Interface → Tags → Tag Database.
Add tags from the connection you created. Each tag maps one data point on the device — a register, a bit, an analog value — to a named variable inside the application.
The toolbar shows how many tags you have defined against the limit for your licence (for example, 2/50).
In Tag Database, select a tag and click the Limits button in the toolbar.
Define one or more thresholds for that tag:
HH — high-high alarm. The most severe high-side condition.
H — high warning. A caution level before the alarm triggers.
L — low warning. A caution level on the low side.
LL — low-low alarm. The most severe low-side condition.
Enter the threshold value and the alarm message text for each level you want to use, then save. Once saved, the application automatically generates an alarm event whenever the tag value crosses a configured threshold.
You do not need to set all four thresholds. Configure only the levels that are meaningful for each tag.
Navigate to Settings → Notifications.
First create a group: click Add Group, type a name (e.g. Operations), and save. The group appears in the left panel.
Select the group, then click Add Notification. A form opens on the right:
Name — a label for this channel, e.g. Telegram – Maintenance team.
Type — the notification service. Supported options include email/SMTP, Telegram, Slack, Microsoft Teams, Discord, ntfy, and all services available through the Apprise library.
URL — the Apprise connection URL for the selected service. The URL encodes credentials and routing in a single string. Examples:
- Telegram:
tgram://BotToken/ChatID/ - Email:
mailto://user:[email protected] - ntfy:
ntfy://mytopic/ - Slack: paste the incoming webhook URL directly
User Groups — which user groups receive this notification.
Users — individual users to notify in addition to the group.
Save. The notification is now listed under the group. When a tag’s alarm limit is crossed, the application sends an alert to every channel in the assigned group.
Notification groups are assigned when configuring alarm limits on a tag (Tag Database → Limits). Select the group in the alarm limit form to activate delivery for that alarm.
What you have now
After completing these steps the application continuously reads tag values from the connected device, triggers alarm events when values cross the thresholds you defined, and delivers notifications through the configured channel.
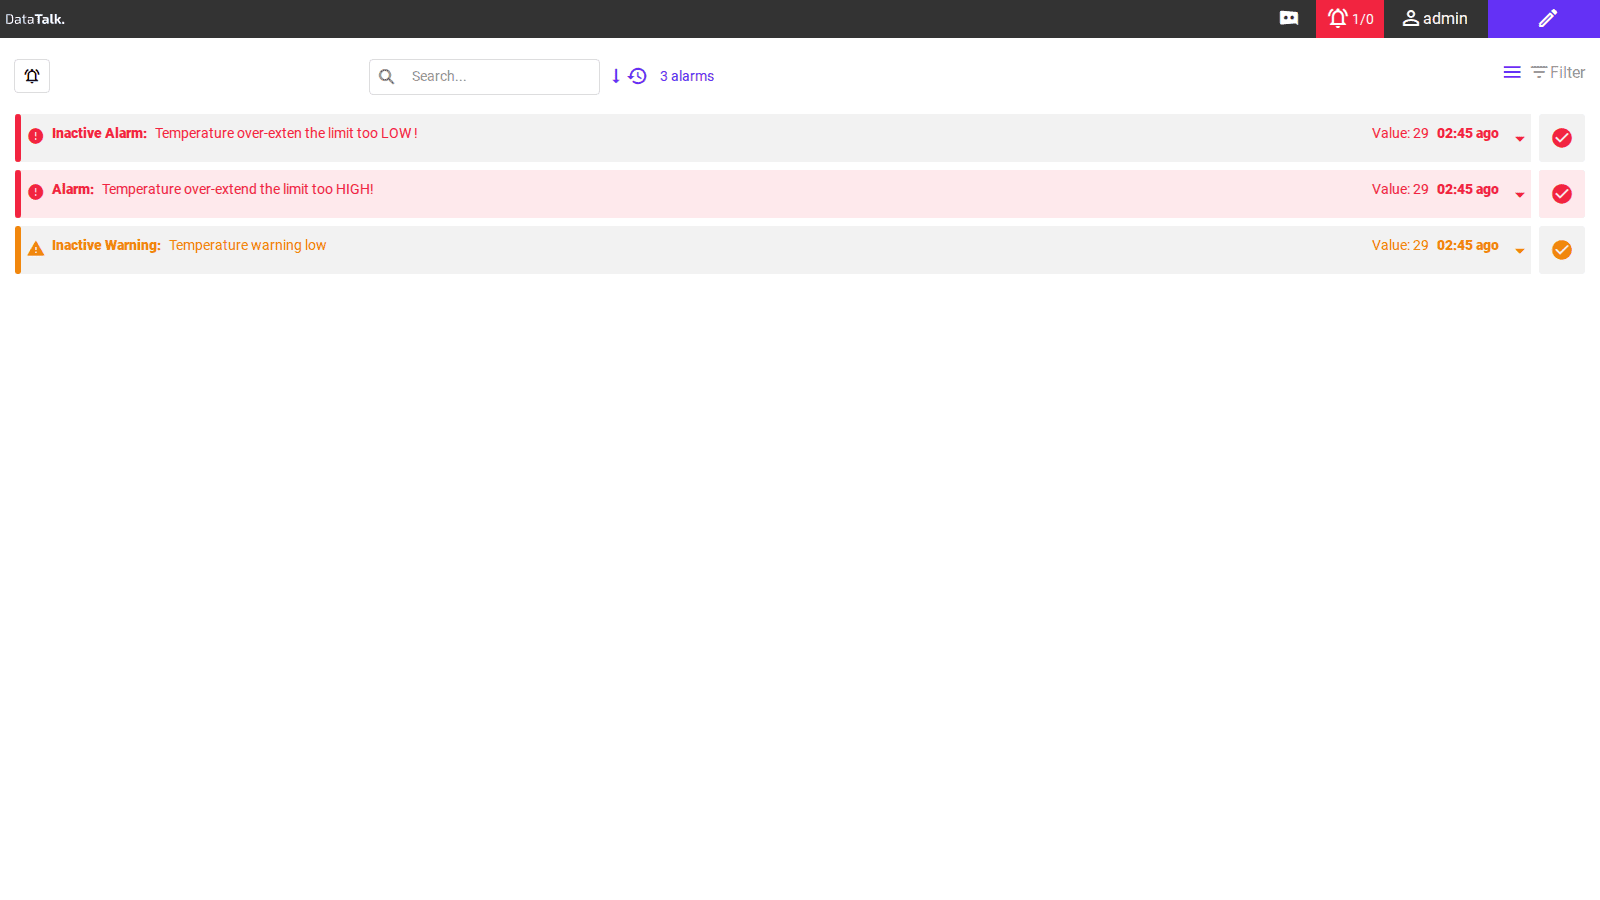
Operators see the live alarm list in View Mode. The alarm counter in the top bar updates in real time.
Add the AI Module to let operators ask questions such as “What alarms are currently active?” directly in the application.